Have you ever taken a photo of a breathtaking scene, only to find the result looks flat or dull?
The missing ingredient is often contrast in landscape photography; the balance between light and dark, highlights and shadows, that gives your image depth and energy.
In this post, we’ll explore how to achieve optimal contrast, from camera settings to composition, so your landscapes truly come alive.
I receive a small commission from links in this post, thank you for your support
Define Contrast in Landscape Photography
What Is Contrast in Landscape Photography?
Contrast describes the difference between the brightest and darkest areas of a photograph. In landscapes, it’s what separates a luminous sky from a shadowed valley, or makes golden aspens pop against a stormy backdrop. Without it, images can feel lifeless. With it, your photos gain shape, texture, and emotion.
There are several types of contrast to consider:
- Tonal contrast: Bright vs. dark tones.
- Color contrast: Opposing hues (think red rocks under blue skies).
- Textural contrast: Smooth vs. rough surfaces in a scene.
Understanding these types helps you choose how to strengthen the mood you want to convey.
Why Achieving Optimal Contrast in Landscape Photography Matters
In landscape photography, too much contrast can blow out highlights or bury details in shadows. Too little, and your scene appears washed out. Achieving optimal contrast through exposure is key. It allows your images to:
- Preserve detail across light and dark areas.
- Convey mood more effectively (drama, peace, tension, serenity).
- Draw the viewer’s eye to the most important elements of your frame.
Techniques for Achieving Optimal Contrast
Use Exposure to Your Advantage
Metering correctly is essential. For high contrast scenes, try exposing for the highlights to avoid clipping the brightest areas, then lift shadows in post-processing.
Exposure bracketing can help: take multiple exposures and blend them later to increase the dynamic range and preserve the ends of the histogram.
Speaking of which, take a peek at your histogram after you’ve taken the image; it tells you if you’re losing detail.
Camera Settings for Contrast
- Always Shoot RAW: This preserves more dynamic range than JPEG, giving you flexibility.
- Know your ISO: Proper ISO reduces noise in shadow areas while preserving details. Know if your camera is ISO invariant and when that invariance starts. You’d be surprised how much you can push your ISO with newer cameras; I love it for dark emotive scenes.
Composition for Landscape Contrast
How you frame a scene can either flatten or emphasize contrast. I recommend placing dark foregrounds against bright skies for drama (but be ready to exposure bracket to capture all details).
Use leading lines that move from light into shadow. Not only does the well-lit leading line draw the viewers eye though the scene, it also instills a type of wonder and mystery for your audience.
Incorporate reflections for subtle tonal contrast. Reflections of light, the landscape, the sky, all of these provide excellent tonal contrast. Also try black and white when photographing such scenes.
Working With Natural Light
Contrast isn’t static; it changes with time of day and weather.
- Golden hour: Gentle, warm contrast that enhances textures.
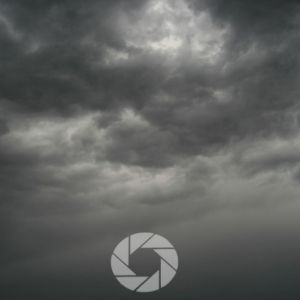
- Midday sun: Harsh light, strong shadows which can be tricky, but dramatic if handled well.
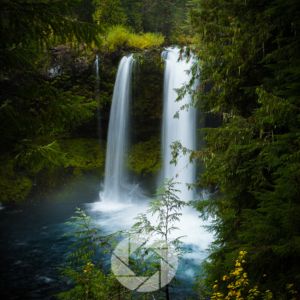
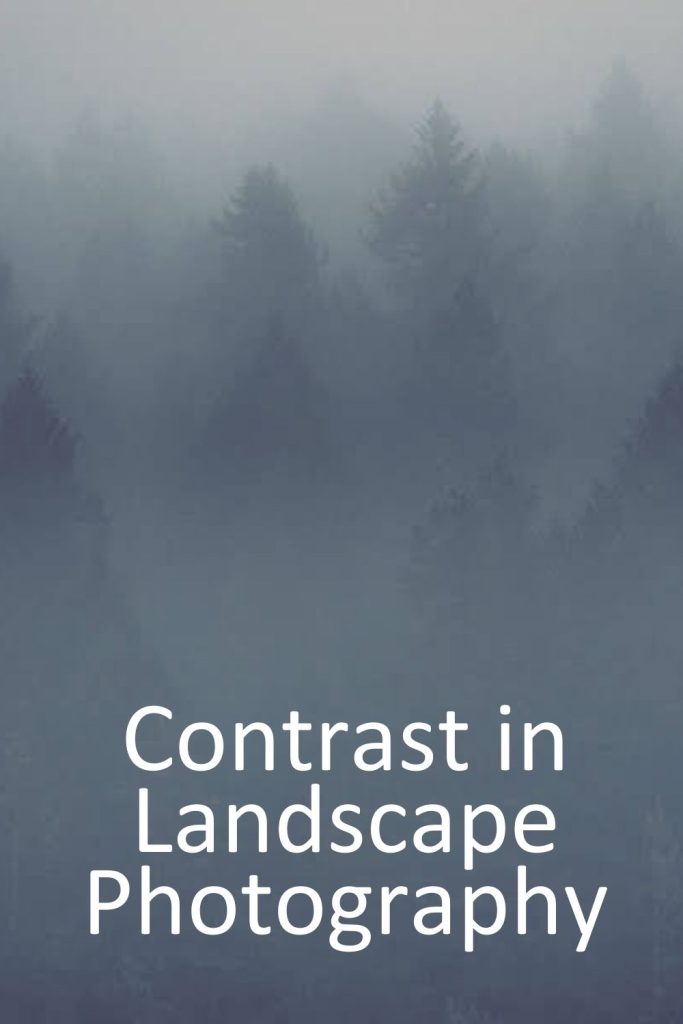
- Overcast days: Low contrast, ideal for forests and waterfalls.
If you’re photographing with the four elements in mind, contrast aligns naturally: fire (sunset glow against shadow), water (reflective balance of light and dark), air (mist softening contrast), and earth (textures in stone, sand, or soil highlighted by light).
High Contrast vs. Low Contrast Scenes
Not all scenes call for the same approach.
High contrast landscapes (desert canyons, snowy peaks under sun) often require exposure blending or careful highlight control.
Low contrast scenes (foggy forests, twilight meadows) benefit from subtle adjustments in post, allowing mood to shine through without forcing extremes.
Learning when to embrace each is part of developing your creative voice.
Post-Processing Tips
Editing is where you fine-tune contrast:
- Use curves adjustments for precise control over shadows and highlights.
- Apply local adjustments (radial filters, masks) to balance specific areas.
- Don’t overdo global contrast sliders; subtlety keeps the image natural.
Conclusion
Achieving optimal contrast in landscape photography isn’t just about exposure settings. It’s about understanding light, composition, and the emotional tone of your scene.
Whether you’re chasing storm light over canyons or standing quietly by a fog-covered lake, contrast is the tool that helps you tell the story.
If you’d like to explore these techniques hands-on, my landscape photography workshops are the perfect setting to learn in the field, surrounded by breathtaking views.
📸Learn for free!
➡️ FREE Wallpapers and Guides
➡️ DISCOUNTS on future Tours & Tutorials
➡️ TIPS for improving Your photography

You can unsubscribe at anytime.
- Define Contrast in Landscape Photography
- What Is Contrast in Landscape Photography?
- Why Achieving Optimal Contrast in Landscape Photography Matters
- Techniques for Achieving Optimal Contrast
- Working With Natural Light
- High Contrast vs. Low Contrast Scenes
- Post-Processing Tips
- Conclusion
- FAQs
- References
- 📸Learn for free!
FAQs
Balance exposure in camera, use RAW for flexibility, and adjust contrast locally in editing.
Shoot at low ISO, expose for highlights, and bracket exposures in high-contrast situations.
Your camera’s dynamic range determines how much detail it can capture in highlights and shadows. Maximizing this range is key to achieving balance.
References
- 3 Essential Types of Contrast in Landscape Photos – Scott Davenport
- How Light and Contrast Shape Color in Your Landscape Photos – Fstoppers
- Contrast: The Most Underrated Tool in Landscape & Nature Photography – Shutterbug
- Travel Photography Tips and Tricks for High Contrast Scenes – Datacolor
- Exposing to the right – Wikipedia