If you’ve ever pointed your camera at a dramatic landscape such as a glowing desert sunset or a fog-filled forest; you’ve probably faced the question: should I underexpose or overexpose this shot?
Getting exposure right is one of the biggest challenges in outdoor photography, and beginners often wonder whether it’s better to lean slightly darker or lighter when in doubt.
The truth is, exposure is about balance, not absolutes. In this guide, we’ll explore what underexposure and overexposure mean in practice, when each might be useful, and how to find the sweet spot for landscapes.
We’ll also look at camera techniques, editing fixes, and ways to use exposure intentionally for mood and storytelling.
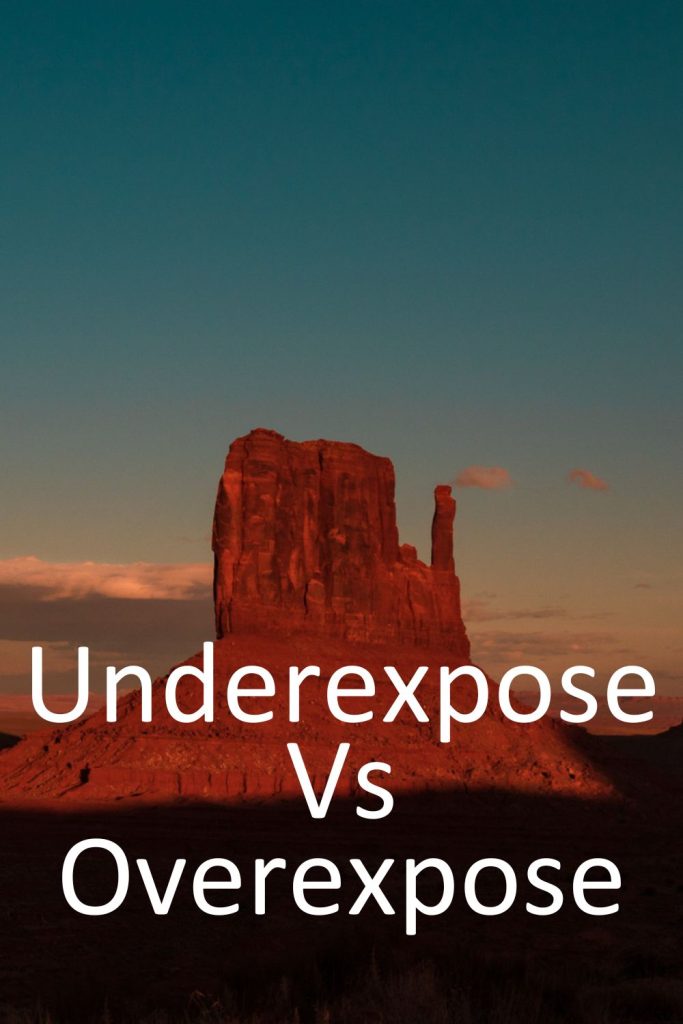
Underexpose Vs Overexpose
Understanding Exposure Basics
Exposure refers to how much light reaches your camera sensor. It’s controlled by three settings: aperture, shutter speed, and ISO. The “correct” exposure is typically one where highlights, midtones, and shadows are well-balanced, but in practice, conditions aren’t always ideal.
That’s why photographers often ask: should I err on the side of underexposure or overexposure?
Discover Your Next Journey – These Tours are designed for people who connect with light and landscape.
What Is Underexposure in Landscape Photography?
Underexposure means your image is darker than “correct” exposure. Highlights are preserved, but shadows may lose detail.
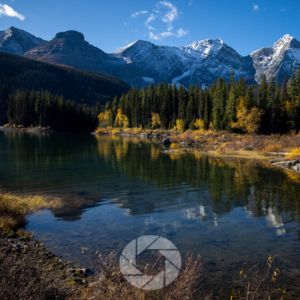
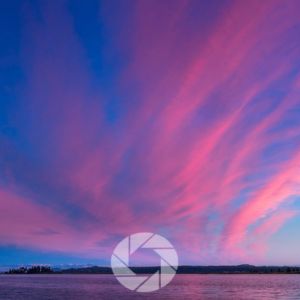
Think of photographing a sunset: by underexposing slightly, you keep the fiery sky rich and detailed, even if foregrounds fall into shadow.
Pros and Cons of Underexposure in Landscape Photography
| Pros | Cons |
|---|---|
| Protects highlight detail (no blown-out skies). | Shadow noise can increase when lifting in post-processing. |
| Creates moodier, more dramatic photos. | Too much darkness may flatten color vibrancy. |
| Easier to recover shadow detail in editing, especially with RAW files. |
What Is Overexposure in Landscape Photography
Overexposure means your image is brighter than “correct” exposure. Shadows retain detail, but highlights may clip and turn pure white.
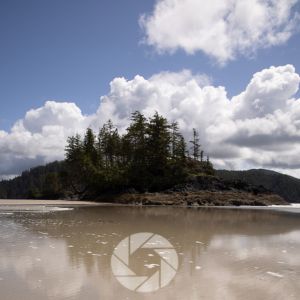
Imagine a foggy woodland: a slight overexposure enhances the ethereal softness, whereas underexposing might make the image look muddy.
📸Learn for free!
➡️ FREE Wallpapers and Guides
➡️ DISCOUNTS on future Tours & Tutorials
➡️ TIPS for improving Your photography
You can unsubscribe at anytime.
Pros and Cons of Overexposure in Landscape Photography
| Pros | Cons |
|---|---|
| Retains detail in darker areas (shadows don’t go completely black). | Blown highlights are often unrecoverable. |
| Can create a soft, dreamy, high-key aesthetic. | Can wash out skies and reduce texture in clouds or bright surfaces. |
| Useful in low-contrast scenes (fog, snow, overcast light). | May reduce overall color depth and vibrancy. |
So, Is It Better to Underexpose or Overexpose in Landscape Photography?
The short answer: it’s usually better to underexpose slightly. Thats because digital sensors capture more information in the highlights than shadows. As you know, blown highlights (like a white sky) cannot be fixed as there is 0 data to recover, while dark shadows can often be lifted.
This means that underexposing gives you more flexibility in post-processing.
That said, context matters. A foggy meadow at dawn benefits from slight overexposure, while a desert sunset almost always needs underexposure to retain sky detail.

Exposure as Storytelling
Exposure choices shape how viewers feel about your image. Darkness can symbolize mystery or the unknown; brightness can symbolize openness or clarity.
In earth’s elemental cycles, this balance between light and shadow echoes the turning of the Wheel of the Year; winter’s deep shadows giving way to summer’s bright fire. Exposure, like the seasons, teaches us that both light and dark have their place.
Exposure Balance in Landscape Photos: Dynamic Range in Photography
Your camera’s dynamic range determines how much detail it can capture between pure black and pure white. High-contrast scenes (like mountains under harsh sunlight) often exceed this range, forcing you to choose whether to protect shadows or highlights.
Using the Histogram for Landscape Photography
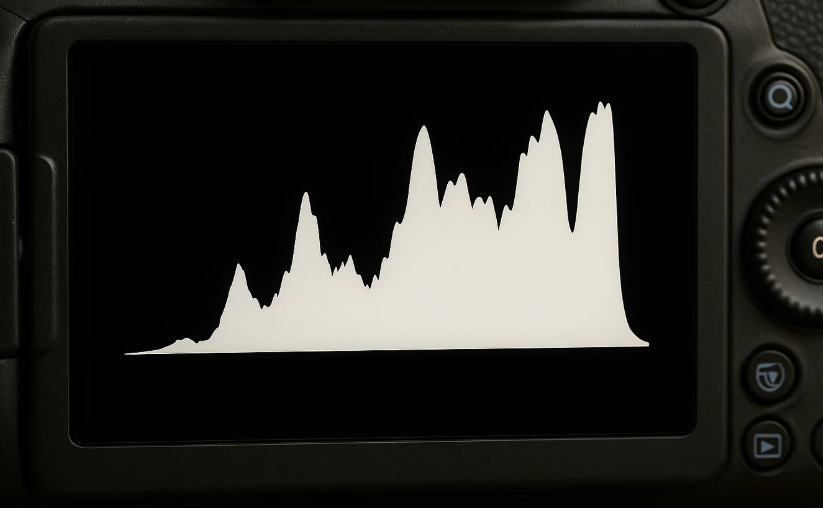
Your histogram is your best friend. It shows whether you’re clipping highlights (graph bunched to the right) or crushing shadows (graph bunched to the left).
Aim for a distribution that avoids extremes (unless you’re intentionally creating a moody high- or low-key image.)
What if I’m Shooting in High-Contrast Landscapes?
High-contrast landscapes are scenes where the range between the brightest highlight and the darkest shadow is wider than your camera’s sensor can fully capture.
Think of a blazing sunset over dark mountain ridges, or midday light slicing through a canyon. In these situations, no single “perfect” exposure will record both ends of the light spectrum accurately.
Here are some of the strategies that I use.
Exposure Bracketing
- Take a series of photos at different exposures (for example, one exposed for the highlights, one for the midtones, and one for the shadows).
- Later, blend them together in post-processing using HDR techniques or manual exposure blending.
- This gives you detail across the full dynamic range without blowing highlights or losing shadow detail.
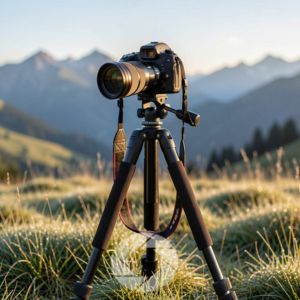
- Pro tip: Keep your camera on a tripod when bracketing to ensure your images align perfectly.
Exposing to the Right (ETTR)
- ETTR means pushing your histogram as far to the right (brighter) as possible without clipping highlights.
- Why? Because sensors record more data in the brighter tonal range, giving you more editing flexibility.
- Be careful, though because ETTR in a high-contrast scene can easily result in blown-out skies. Always check your histogram and highlight alerts to make sure you’re not overdoing it.
- Check out my post on ETTR to understand more about this technique and when to use it.
Post-Processing Blends and Local Adjustments
- Even if you don’t bracket, you can balance exposure in editing (as long as the dynamic range isn’t too large). Use graduated filters or masks in Lightroom or Photoshop to selectively darken skies or lift shadows.
- Dodge and burn techniques (lightening and darkening targeted areas) allow you to mimic the way the human eye perceives the scene, restoring balance without flattening the photo.
- For extremely challenging light, combine both bracketing and local adjustments for maximum control.
Intentional Mood Through Exposure
- Slight underexposure can evoke feelings of drama, tension, mystery.
- Slight overexposure reminds your audience of softness, dreaminess, serenity.
Exposure isn’t just technical, it’s a creative tool that you can use to communicate emotions and vision to your audience.
Bonus Tip: Plan for the Light
Sometimes the best way to handle high-contrast scenes is to avoid them. Shooting during golden hour or blue hour naturally reduces contrast, giving you more balanced exposures without technical gymnastics.
Overcast days are another gift because they soften shadows and highlights, making exposure more forgiving.
Unfortunately, there’s no one-size-fits-all solution. For dramatic light, bracketing is often the safest option; for speed and efficiency, ETTR can work if you’re careful; and in post-processing, local adjustments can rescue a single tricky exposure. The key is to know your tools and practice until these techniques become second nature.
Practical Shooting Scenarios
Desert Sunsets
Best approach: Slight underexposure. Keeps rich sky colors and prevents highlight clipping. Shadows in the desert foreground can be lifted later.
Foggy Forests
Best approach: Slight overexposure. Fog benefits from extra brightness, which enhances its airy, mystical quality.
Snow-Covered Peaks
Best approach: Careful balance. Snow often tricks meters into underexposing, so add +0.3 to +1 EV to keep whites clean but not blown.
Waterfalls in Overcast Light
Best approach: Neutral or slight underexposure. Overcast skies reduce contrast, so a balanced exposure keeps details in moving water.
How to Fix Exposure in Editing
Everyone has a different opinion and workflow when it comes to post processing, here are the edits I try until I am satisfied with the results.
Fixing Underexposed Photos in Lightroom
- Increase shadows and exposure sliders gently.
- Use noise reduction if lifting very dark areas and you notice the areas are noisy.
- Adjust white and blacks and/or the curve line to target contrast
- Restore vibrance by increasing the blues and they slightly bumping up the vibrance slider.
Fixing Overexposed Photos in Lightroom
- Lower highlights and whites sliders.
- Use graduated filters to recover skies.
- If clipped areas remain pure white, detail is unrecoverable.
Learn more about exposure, aperture, and the exposure triangle with these posts:
- Is it better to under or overexpose
- Exposure triangle for beginners
- Perfect Your aperture for Landscapes
- What is aperture and Depth of Field
- ISO in Photography
Conclusion
So, is it better to underexpose or overexpose in landscape photography? The answer depends on the scene, but leaning toward slight underexposure is usually safer. It preserves highlight detail, protects color, and gives you flexibility in editing.
Exposure isn’t just a technical hurdle, it’s the heart of your storytelling. Next time you’re out with your camera, pause and ask: What mood do I want this landscape to hold? The answer will guide whether you dial exposure darker, lighter, or perfectly balanced.
If you’re ready to practice these skills in real time, join me for one of my landscape photography tours, where we explore exposure hands-on while learning to connect deeply with light, land, and season.
- Underexpose Vs Overexpose
- Understanding Exposure Basics
- What Is Underexposure in Landscape Photography?
- Pros and Cons of Underexposure in Landscape Photography
- What Is Overexposure in Landscape Photography
- Pros and Cons of Overexposure in Landscape Photography
- So, Is It Better to Underexpose or Overexpose in Landscape Photography?
- Exposure as Storytelling
- Exposure Balance in Landscape Photos: Dynamic Range in Photography
- What if I’m Shooting in High-Contrast Landscapes?
- Practical Shooting Scenarios
- How to Fix Exposure in Editing
- Conclusion
- 📸Learn for free!
- Learn more about exposure, aperture, and the exposure triangle with these posts: