Fall photo editing is the bridge between what you saw in the moment and what your audience will feel when they look at your image.
Editing is where you step in; not to fabricate, but to refine, enhance, and guide the viewer’s eye so they can step into your scene and feel what you felt.
In this guide, I’m going to share the same 17 editing steps I rely on to take my own fall photographs from good to unforgettable.
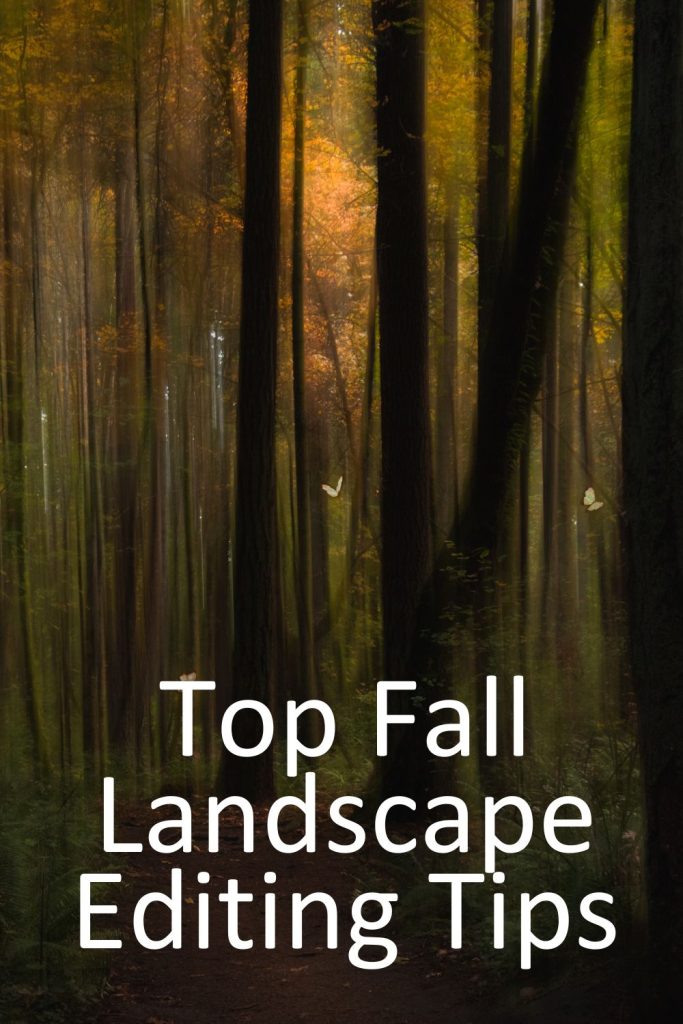
Top 13 Tips for Editing Your Fall Photos
A Complete Guide to Editing Fall Photos in Lightroom
There’s something irresistible about autumn especially the fiery reds, golden yellows, and deep, earthy browns that transform even the most familiar landscapes into something magical.
But if you’ve ever come home from a fall photo walk and felt disappointed that your images didn’t quite capture what you saw, you’re not alone. Cameras often struggle to translate the richness of autumn light and color.
That’s where fall photo editing and Lightroom come in. In this guide, I’ll walk you through a complete, step-by-step process for editing autumn landscapes so they not only look stunning but also convey the crisp air, warm glow, and quiet magic that makes the season so unforgettable.
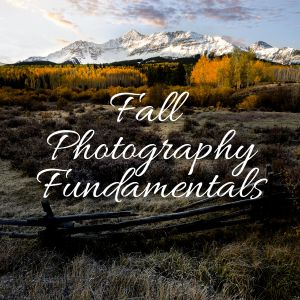
My Free Fall Photography Fundamentals guide walks you through everything you need to capture not just images, but the true spirit of the season.
Ready for Your Best Fall Photos Yet?
Fall Photography Editing List
- Start with RAW Files
- Adjust White Balance for Warmth
- Boost Vibrance, Not Saturation
- Fine-Tune HSL (Hue, Saturation, Luminance)
- Use Selective Editing to Guide the Eye
- Enhance Contrast and Clarity
- Preserve Shadows for Mood
- Add a Gentle Vignette
- Play with Split Toning (Color Grading)
- Sharpen with Care
- Use Dehaze for Foggy Mornings
- Balance the Sky with Graduated Filters
- Maintain a Natural Look
- Remove Distracting Elements
- Crop with Purpose
- Keep Seasonal Consistency
- Save Different Versions
Fall Photo Editing Tips
Start with RAW Files
If you’re serious about fall photography, shooting in RAW is non-negotiable. Unlike JPEGs, which compress and discard information, RAW files store every scrap of data your camera’s sensor collected.
This means you can recover details from deep shadows, rescue highlights from overexposure, and make big adjustments to color without introducing noise or ugly banding.
Fall’s dynamic range: bright skies, dappled midtones, and dark forest shadows, can be tricky to balance, and RAW gives you the flexibility to fine-tune without sacrificing quality.
Adjust White Balance for Warmth
Autumn is defined by warm tones, but the camera’s auto white balance can sometimes lean too cool, especially under overcast skies. I start by nudging the temperature slider toward 5500K–6500K to restore that golden glow.
Be careful here because pushing it too far can turn whites muddy and make the scene look unnatural. Instead, think of it as seasoning: a little goes a long way. You can also experiment with the tint slider, adding a hint of magenta to counteract greenish tones in shaded areas.
Boost Vibrance, Not Saturation
Vibrance is the gentler cousin of saturation as it increases the intensity of muted colors while leaving already vivid areas alone.
In practice, this means your rich reds won’t suddenly start glowing like neon signs, but the subtler golds, browns, and mossy greens will come to life. I usually increase vibrance by 10–20 points for fall shots, then fine-tune individual colors in the HSL panel.
This approach keeps things natural while still making your images pop.
Fine-Tune HSL (Hue, Saturation, Luminance)

The HSL panel is one of the most powerful tools for fall photo editing because it lets you target specific colors. For example:
- Shift yellows slightly toward orange to make them feel richer.
- Boost orange saturation to make leaves glow without oversaturating the whole image.
- Reduce the luminance of reds for deeper, more dramatic tones.
Tweak greens toward yellow to harmonize them with the rest of the autumn palette.
Think of HSL adjustments like mixing paint; you’re balancing the colors so they work together instead of competing.
Use Selective Editing to Guide the Eye

Selective fall photo editing is where your creative storytelling happens. By brightening a sunlit path or lifting exposure slightly on a main subject, you guide the viewer’s gaze exactly where you want it to go.
Radial filters, adjustment brushes, and masks are perfect for this. In fall scenes, I often darken the edges slightly while brightening the midground to create a natural focal point.
The goal isn’t to make it obvious, no, it should feel like the light just happened to fall perfectly in that spot.
Enhance Contrast and Clarity
Autumn landscapes are full of texture like tree bark, crunchy leaves, rocky paths. Boosting clarity enhances those midtone contrasts, making textures more tactile.
But clarity isn’t a “more is better” slider. For misty or foggy scenes, you’ll actually want to reduce clarity slightly to preserve that soft, dreamy look. Global contrast adjustments, on the other hand, help define shapes and depth, especially when light is flat.
Preserve Shadows for Mood

The temptation to lift shadows and reveal every detail can be strong, but sometimes mystery is more powerful.
Deep, rich shadows add drama and atmosphere, particularly in woodland scenes.
If you brighten them too much, you risk flattening the image and losing that sense of depth.
My rule: lift shadows only enough to recover important detail then stop.
Add a Gentle Vignette
A vignette can subtly frame your image and pull the viewer’s eyes toward the center. In fall photography, it works beautifully for portraits framed by foliage or woodland scenes with a central subject.
Keep it subtle because too much vignette can feel artificial and heavy-handed. Aim for the kind of darkening that’s felt rather than noticed.
Play with Split Toning (Color Grading)
Split toning lets you add different color casts to the highlights and shadows. For fall scenes, a warm golden tone in the highlights paired with a subtle teal or cool gray in the shadows creates a beautiful complimentary balance.
This enhances the warmth of the leaves while keeping the darker areas rich and moody. Color grading like this can elevate your image from “pretty” to “cinematic.”
Sharpen with Care
Sharpening is essential for bringing out fine details in leaves, grass, and textures. But over-sharpening can introduce halos around edges or make noise more visible.
I apply sharpening globally, then use a mask (holding Alt/Option in Lightroom while adjusting the masking slider) so only the detailed areas get sharpened, leaving smooth skies and bokeh untouched.
Use Dehaze for Foggy Mornings
The dehaze tool is magic for cutting through mist and revealing hidden detail. But remember; fog is part of the mood. I rarely use more than +10 to +15, just enough to add definition without removing the softness entirely. Sometimes, I even add haze for a dreamy, fairytale look.
Balance the Sky with Graduated Filters
A bright, overexposed sky can throw off the balance of your image. Graduated filters let you darken the sky while keeping the rest of the scene untouched.
This also gives you the opportunity to enhance the warmth of a sunset or sunrise, adding a subtle golden or peach tone to the upper part of the frame.

Maintain a Natural Look
It’s easy to get carried away with editing, especially when chasing those intense fall colors.
But remember: the most compelling images are the ones that feel believable.
Constantly step back and ask yourself, “Would someone standing here have seen these colors?” If the answer is no, dial it back.
Remove Distracting Elements
Even the most beautiful autumn scene can be ruined by a stray bright object in the corner or an awkward branch cutting across your subject.
Use the healing, generative AI, or clone tools to clean up small distractions. The cleaner your frame, the stronger your composition will feel.
Crop with Purpose
Cropping is about reshaping the image to strengthen your story. Tighten the frame around your focal point, straighten the horizon, or change the aspect ratio to suit your subject.
In fall photography, cropping can help eliminate dead space and make the composition feel more intimate.
Keep Seasonal Consistency
If you’re sharing multiple autumn images as part of a series, aim for a consistent look in your editing. This could be a similar white balance, color grading style, or level of contrast.
Consistency makes your work feel intentional and professional and it’s something viewers will remember.
Save Different Versions
Fall photo editing is subjective, and your taste may change over time. I often save a few different edits of the same photo fore example one warmer, one more muted, one with deeper contrast, so I can revisit them later with fresh eyes.
Sometimes the version I didn’t initially choose becomes my favorite weeks later.
Conclusion: Fall Editing Tips
Fall photo editing is about capturing not just the look, but the feeling of the season. The goal isn’t to turn nature into something it’s not, but to translate the way the crisp air, warm colors, and soft light felt in the moment.
With these 17 tips, you’ll have the tools to enhance your images in a way that feels rich, intentional, and true to the magic of autumn.
📸Learn for free!
➡️ FREE wallpapers
➡️ DISCOUNTS on future Tours and Tutorials
➡️ TIPS for improving your photography

You can unsubscribe at anytime.